This article will show you how to turn your Raspberry Pi 3 into a bridged access point with OpenWrt.
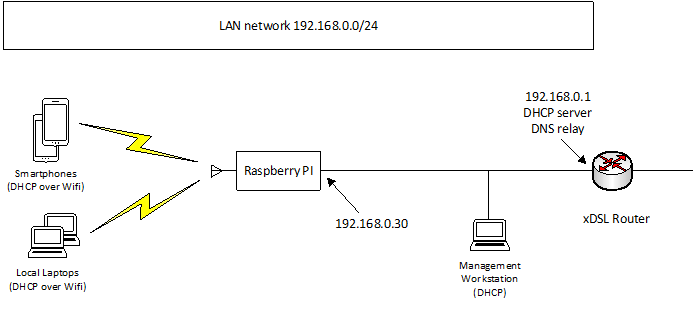
Schema
In this configuration, the WiFi clients will be on the same subnet as the main router (192.168.0.0/24). The Raspi will not act as a router, but as a bridge.
So let start…
Get the current OpenWrt image
https://downloads.openwrt.org/

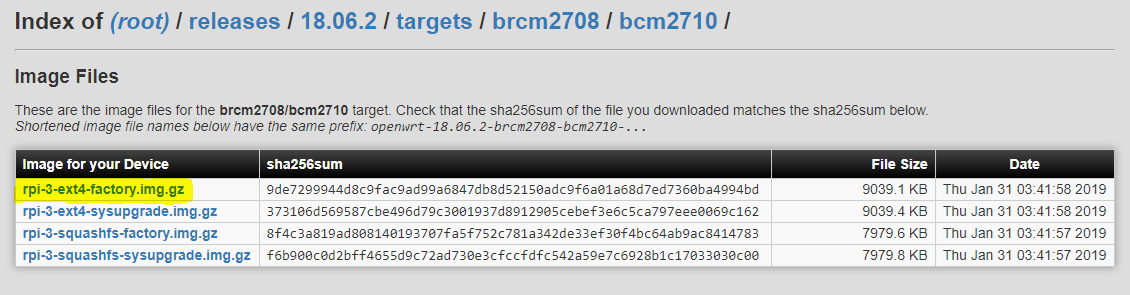
Take the current factory image (openwrt-18.06.2-brcm2708-bcm2710-rpi-3-ext4-factory.img.gz)
Burn the image with etcher
Change LAN IP address of Raspi
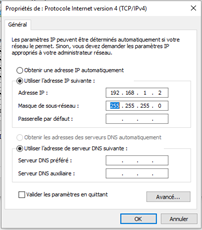
For this you will need to configure your management workstation IP address to 192.168.1.2 with subnet mask 255.255.255.0.
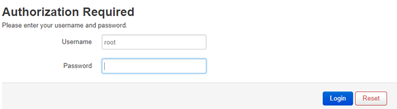
Then open a browser and access to the default IP of the Raspi (http://192.168.1.1)
ATTENTION : BE AWARE OF USING HTTP AND NOT HTTPS
By default, the password is empty.
Then, navigate to Network – Interfaces and edit LAN interface
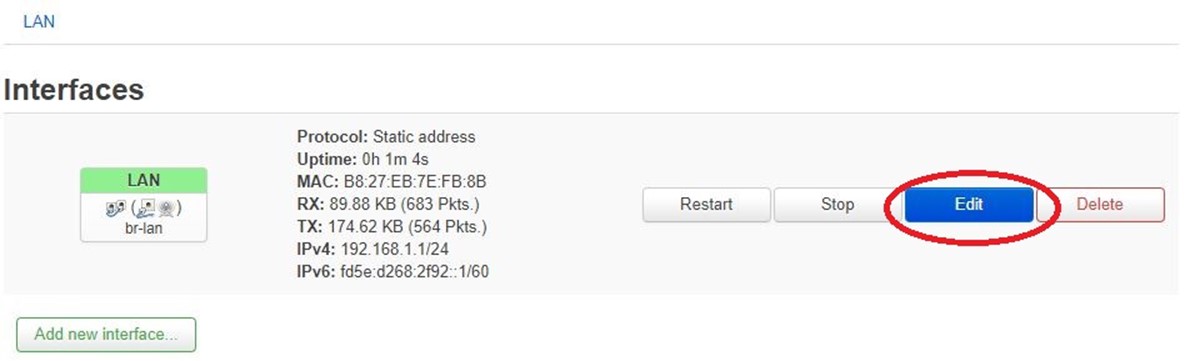
Configure the Lan interface with appropriate settings (see schema above)

Disable DHCP server on this interface
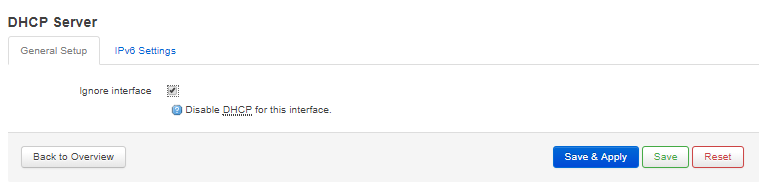
To apply this configuration, you will need to first click on "Save & Apply" and then force apply with "Apply unchecked".

Your Raspi is now available under 192.168.0.30.
You can revert your management workstation Ip configuration to DHCP.

Enable the OpenWrt SSID
Open a browser and access to the new IP of the Raspi (192.168.0.30)
Navigate to Network -Wireless and enable the SSID OpenWrt

The SSID is now ready to accept connections, try to connect with a WiFi device
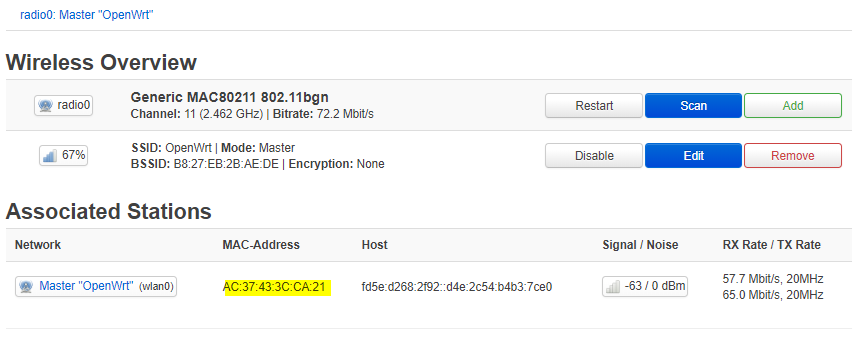
You can see that an android client is now connected and you can check that this device has access to internet.
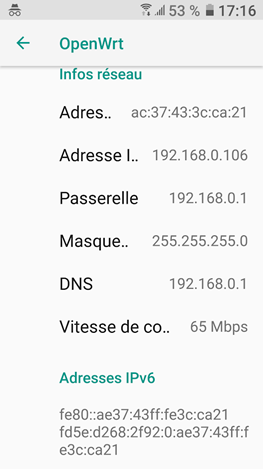
You are done !
Ich mag deine Webseite, das ist mehr als nur ein Blog